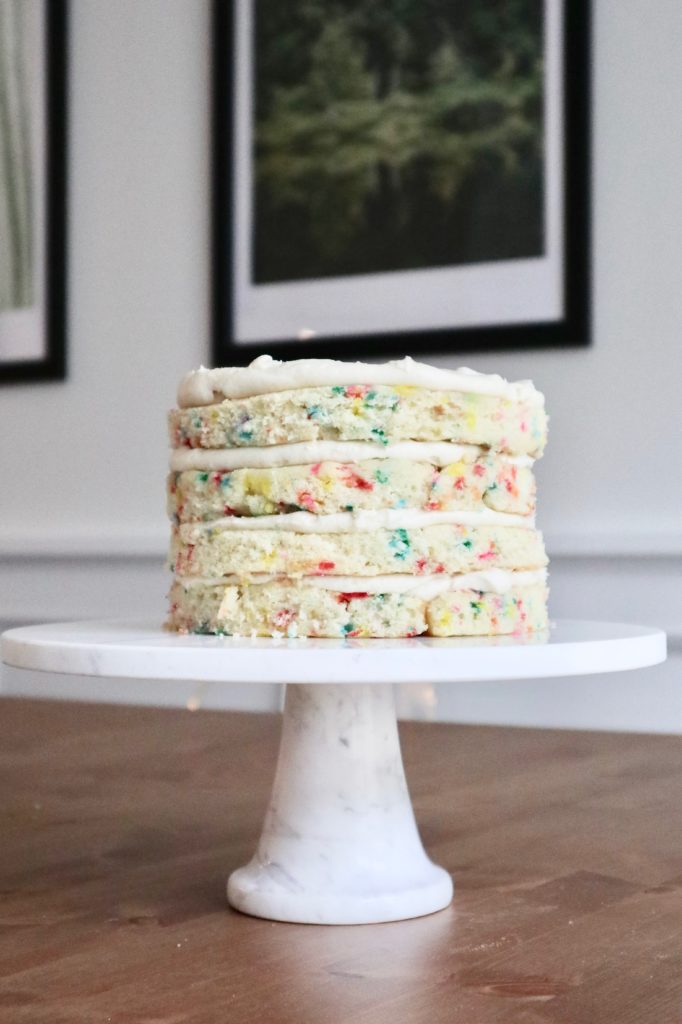
homemade funfetti layer cake
This weekend was a big one for me. I turned 30 but also made the funfetti layer cake of my dreams so it’s a toss up as to which feels more monumental. I honestly can’t say enough good things about this birthday or this cake so get ready for all the feelings. For starters and because honesty is the best policy – I was not so excited about this birthday a few months ago. I felt I wasn’t necessarily in the place I thought I’d be at 30 and some tears were shed at my sister’s kitchen table and in front of company nonetheless. I’m feeling much more at ease now with still having some unmet goals (affording furniture that comes pre-assembled, understanding my health insurance plan) and some accomplished goals (getting my Ph.D., learning how to reimburse my credit card airline miles.)
I have to say what I am most proud of is figuring out how to surround myself with such lovely, generous, quirky, and supportive people. Like kudos to me for gathering this squad who humored me with dressing up for a rainy day house party and validating my desire to play records all night even though I a) had to borrow the record player/records and b) you couldn’t hear anything anyways.
 It was a pretty perfect day overall starting with a spin class I barely survived, brunch where I got to sip champagne with my bagel, and a solid few hours on the couch getting thoroughly invested in the South Korean women’s speed skating relay team (if you don’t know, now you know.) I’m keeping those good vibes going and this morning ordered 3 different breakfast items at flour bakery because I couldn’t decide and at 30 years old, I’m living my truth.
 I could gush forever about the actual day since I’m riding some strange birthday high and have a lot of emotions apparently – but this cake needs to be discussed. My friend and her husband came all the way from New Jersey to help me celebrate this weekend and they’re the most magical house guests for several reasons, including but not limited to how all in they were on helping me assemble this cake. The three of us crowded at my kitchen bar discussing life’s biggest questions (naked cake or fully frosted, sprinkles or no on top, 3 layers or 4) and I’ve got to say I’m thrilled with all of our decisions.
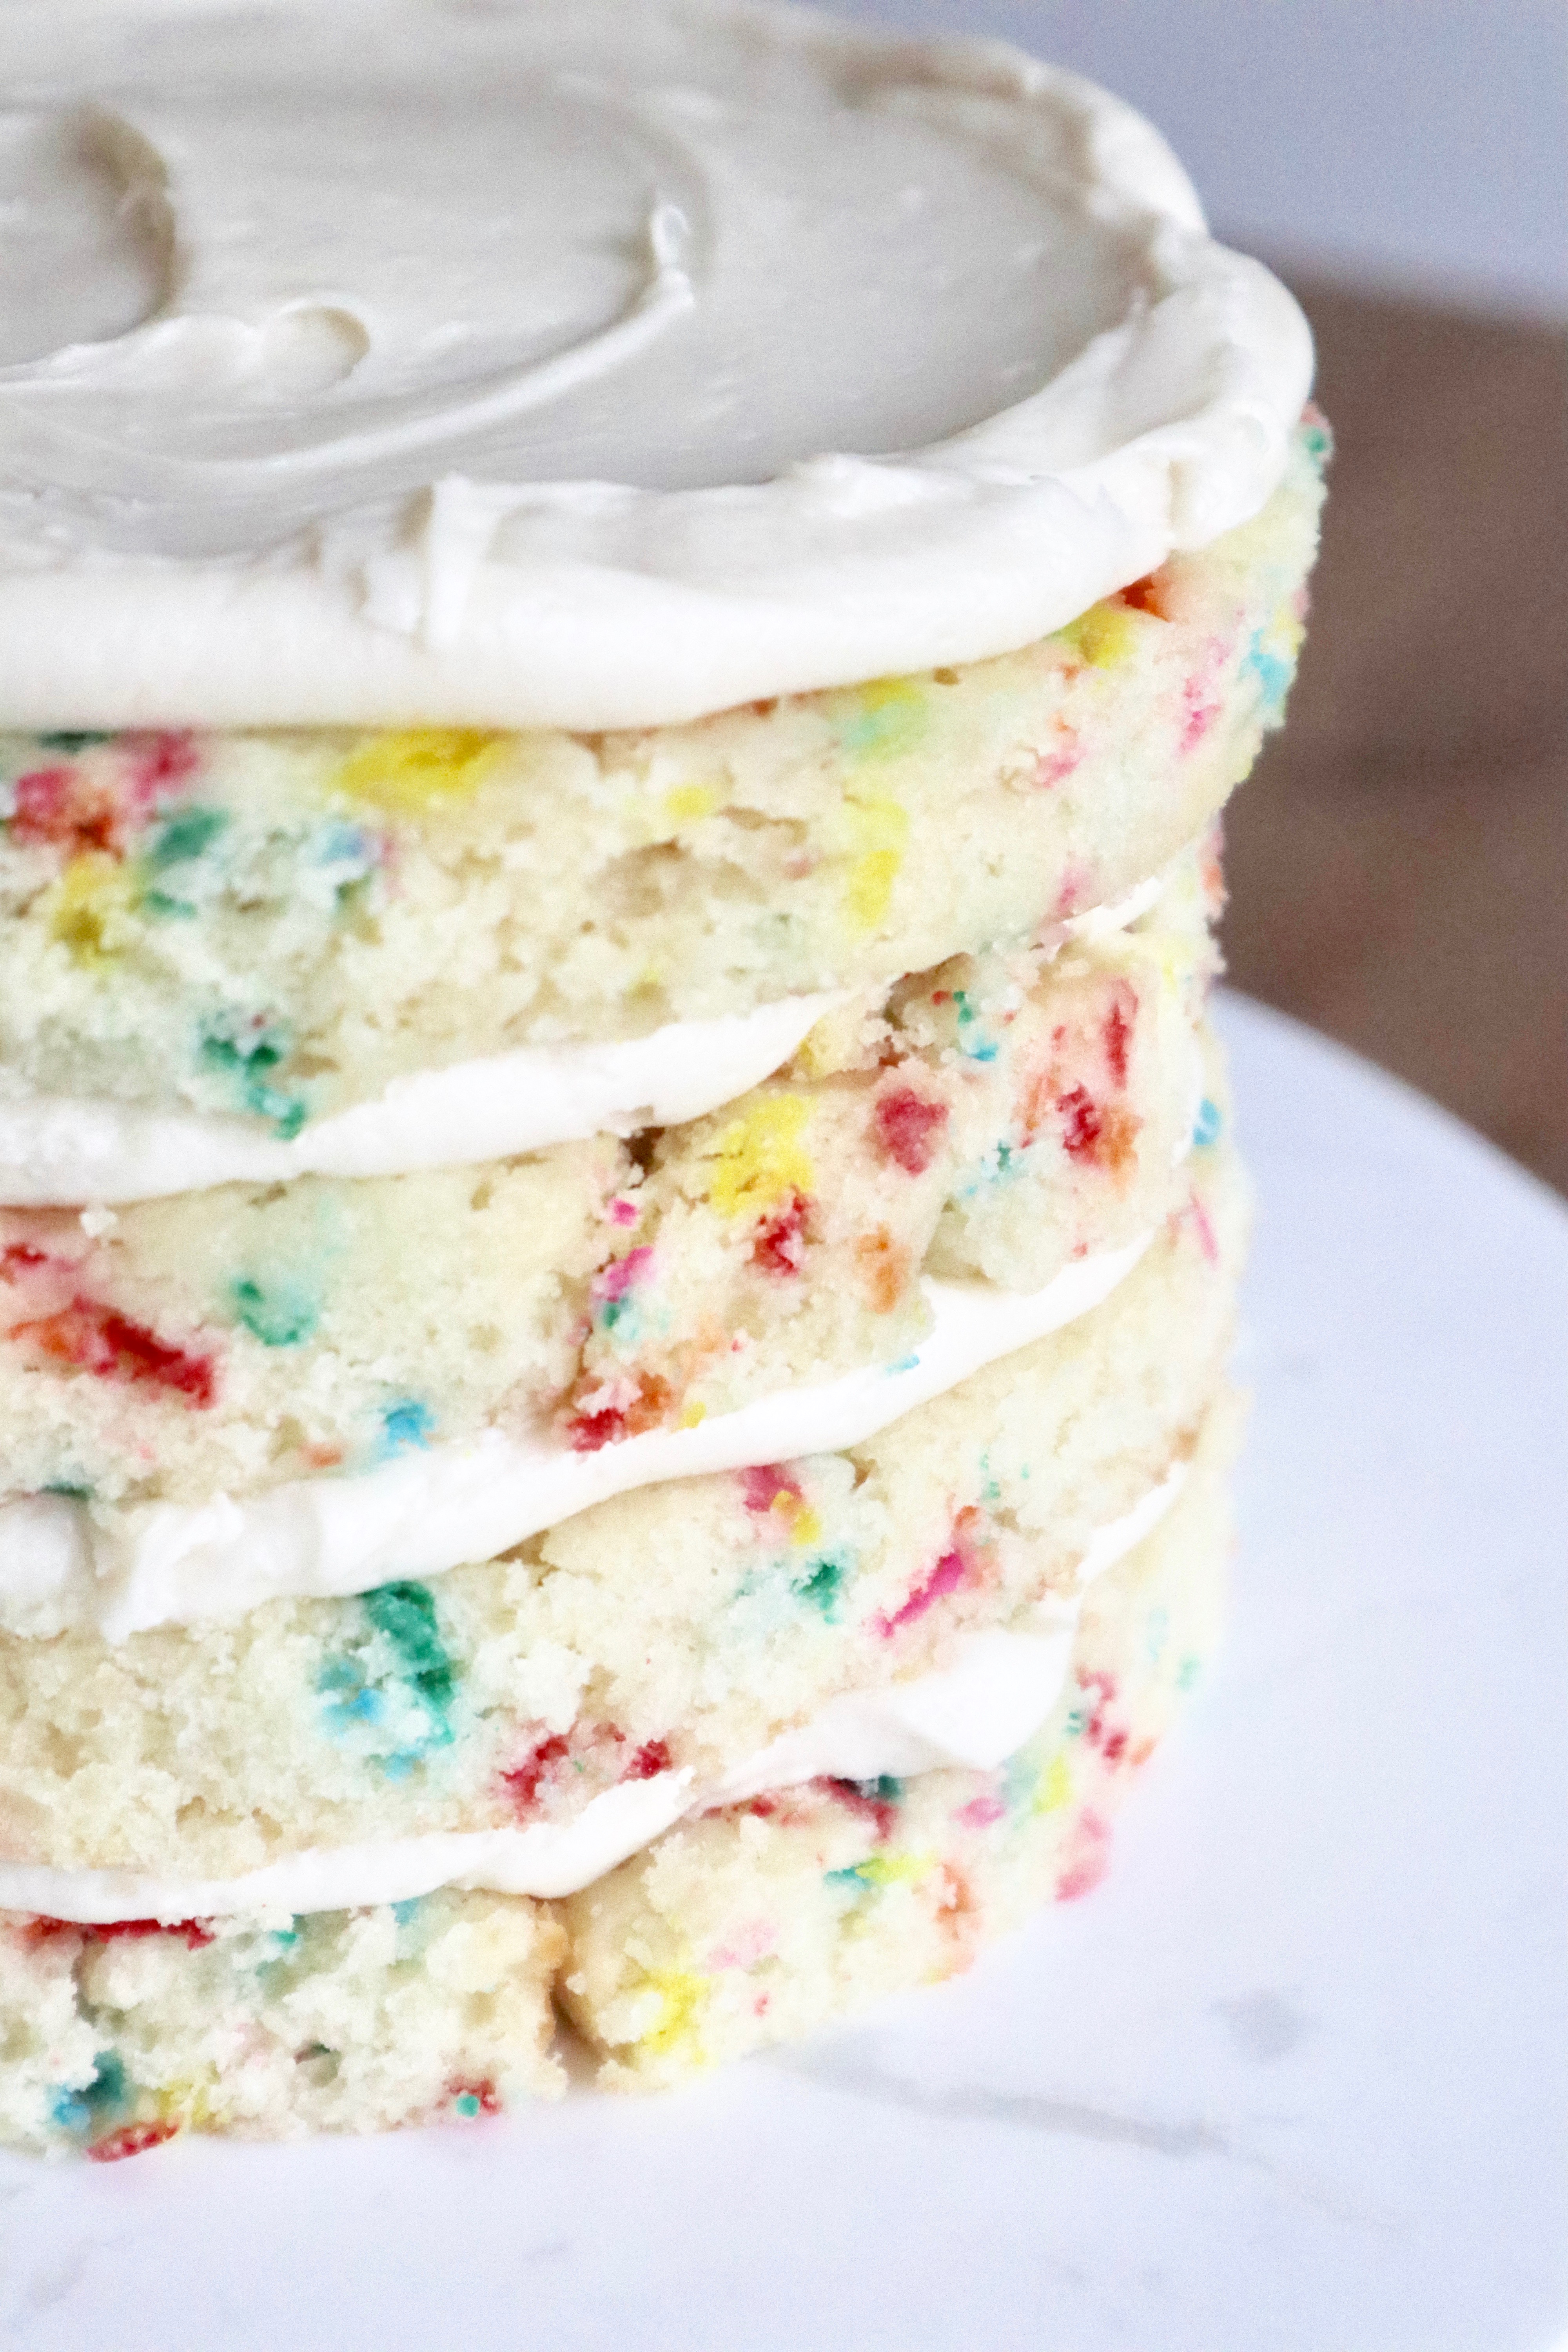
 I assembled this cake Christina Tosi milk bar style, meaning it was baked in an 11×17 inch jelly roll pan, then the layers were cut out of that. I got 2 fully formed layers, 1 layer that was made of two half moons, and 1 layer that was pieced together like a puzzle. It came together with my go-to cream cheese frosting and I’m just sooo pleased with it. It’s a little rustic and a lot of fun. The cake itself is Molly Yeh’s funfetti cake and girl knows what she is doing.
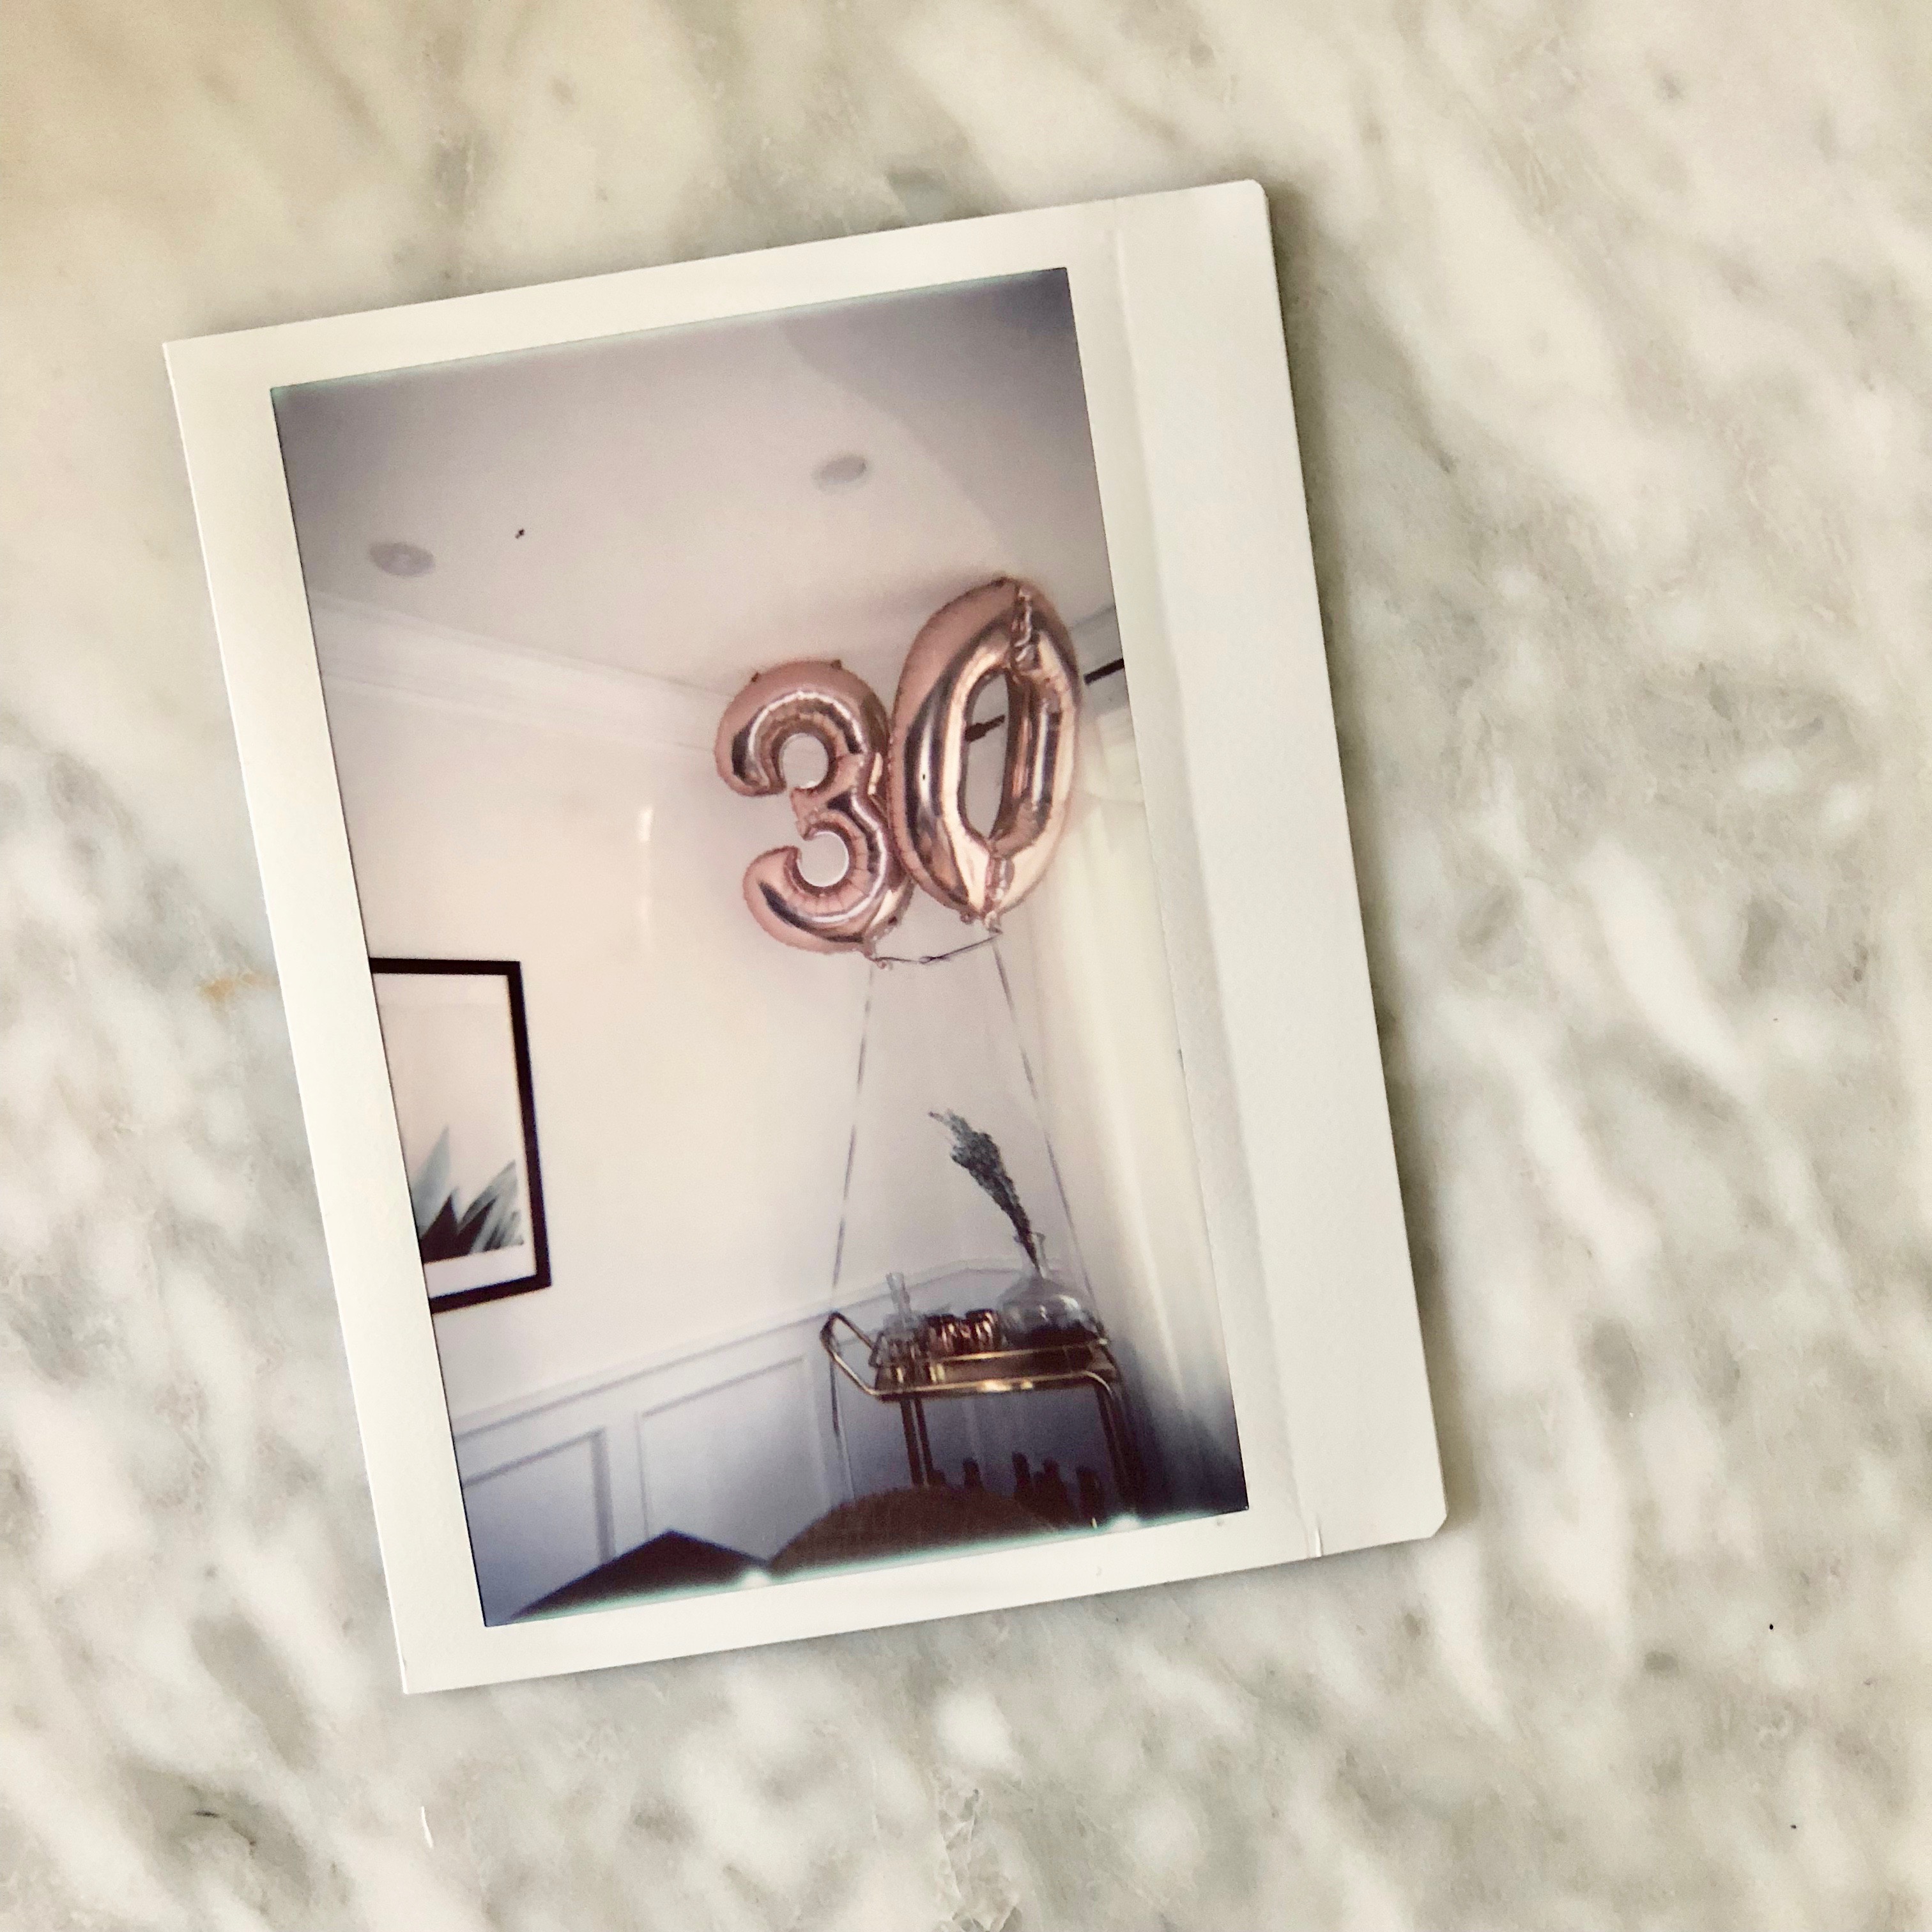 Looking forward to keeping these good vibes/sugar high going for the next decade.
homemade funfetti layer cake
(cake recipe from my name is yeh)
funfetti cake
2 1/2 cups flour
1/4 cup constarch
1 teaspoon kosher salt
2 teaspoon baking powder
1 cup unsalted butter, room temperature
1 1/2 cups sugar
4 large egg whites
1/4 cup flavorless oil
1 tablespoon clear imitation vanilla
1/2 teaspoon almond extract
3/4 cup whole milk
1/2 c rainbow sprinkles (go the artificial route here)
vanilla cream cheese frosting
1/2 cup butter, room temperature
8 oz cream cheese, room temperature
1 teaspoon clear imitation vanilla
1/2 tablespoon whole milk
1 lb powdered sugar
pinch of salt
directions
Preheat your oven to 350 degrees and line the bottom of your jelly roll pan with parchment paper. You can also bake this cake in three 8-inch cake layers or make it a sheet cake in a 9×13 inch pan.
In a medium bowl, whisk together your flour, cornstarch, baking powder, and salt. In a stand mixer, cream together your butter and sugar until light and fluffy. Add in the egg whites, one at a time, and scraping down the bowl after each addition. The batter will look a little frothy because of the egg whites. Next, add in your oil and vanilla, mixing to combine.
Alternate adding in your flour and milk in 2-3 additions. I did 1/3 flour, 1/2 milk, 1/3 flour, 1/2 milk, 1/3 flour. Finally, fold in your sprinkles with a rubber spatula, careful not to over-mix. Spread your batter evenly across your pan. It will be a thin layer so I recommend dolloping it on across the pan, rather than dumping it all in the center and trying to work from there.
Bake for around 20-22 minutes, keeping in mind that it will bake faster in the thin layer than in thicker round cake pans. Let cool in the pan for 10 minutes and then carefully invert onto a cooling rack. Because this is a large, thin layer of cake, it’s prone to cracking if you try and manipulate it too much but don’t worry if it does – we are puzzling it all together anyways! I wrapped this up for the night so I could assemble the cake on the day of.
To make the frosting, beat your cream cheese and butter together until smooth in a stand mixer or with a hand mixer. Add in your vanilla and salt, followed by your powdered sugar added in batches so it doesn’t fly everywhere. When you have added about half your powdered sugar, add in your milk. Add in the rest of the sugar and whip all ingredients together until smooth and a little fluffy.
Cut your cake layers out using a 6 to 7 inch cake ring (or create a guide and cut around it.) You will start by making your “whole” layers by cutting out circles on opposite corners of the sheet cake. Your two half moons will be cut out from the corners that are left and the final layer will be pieced together with the scraps.
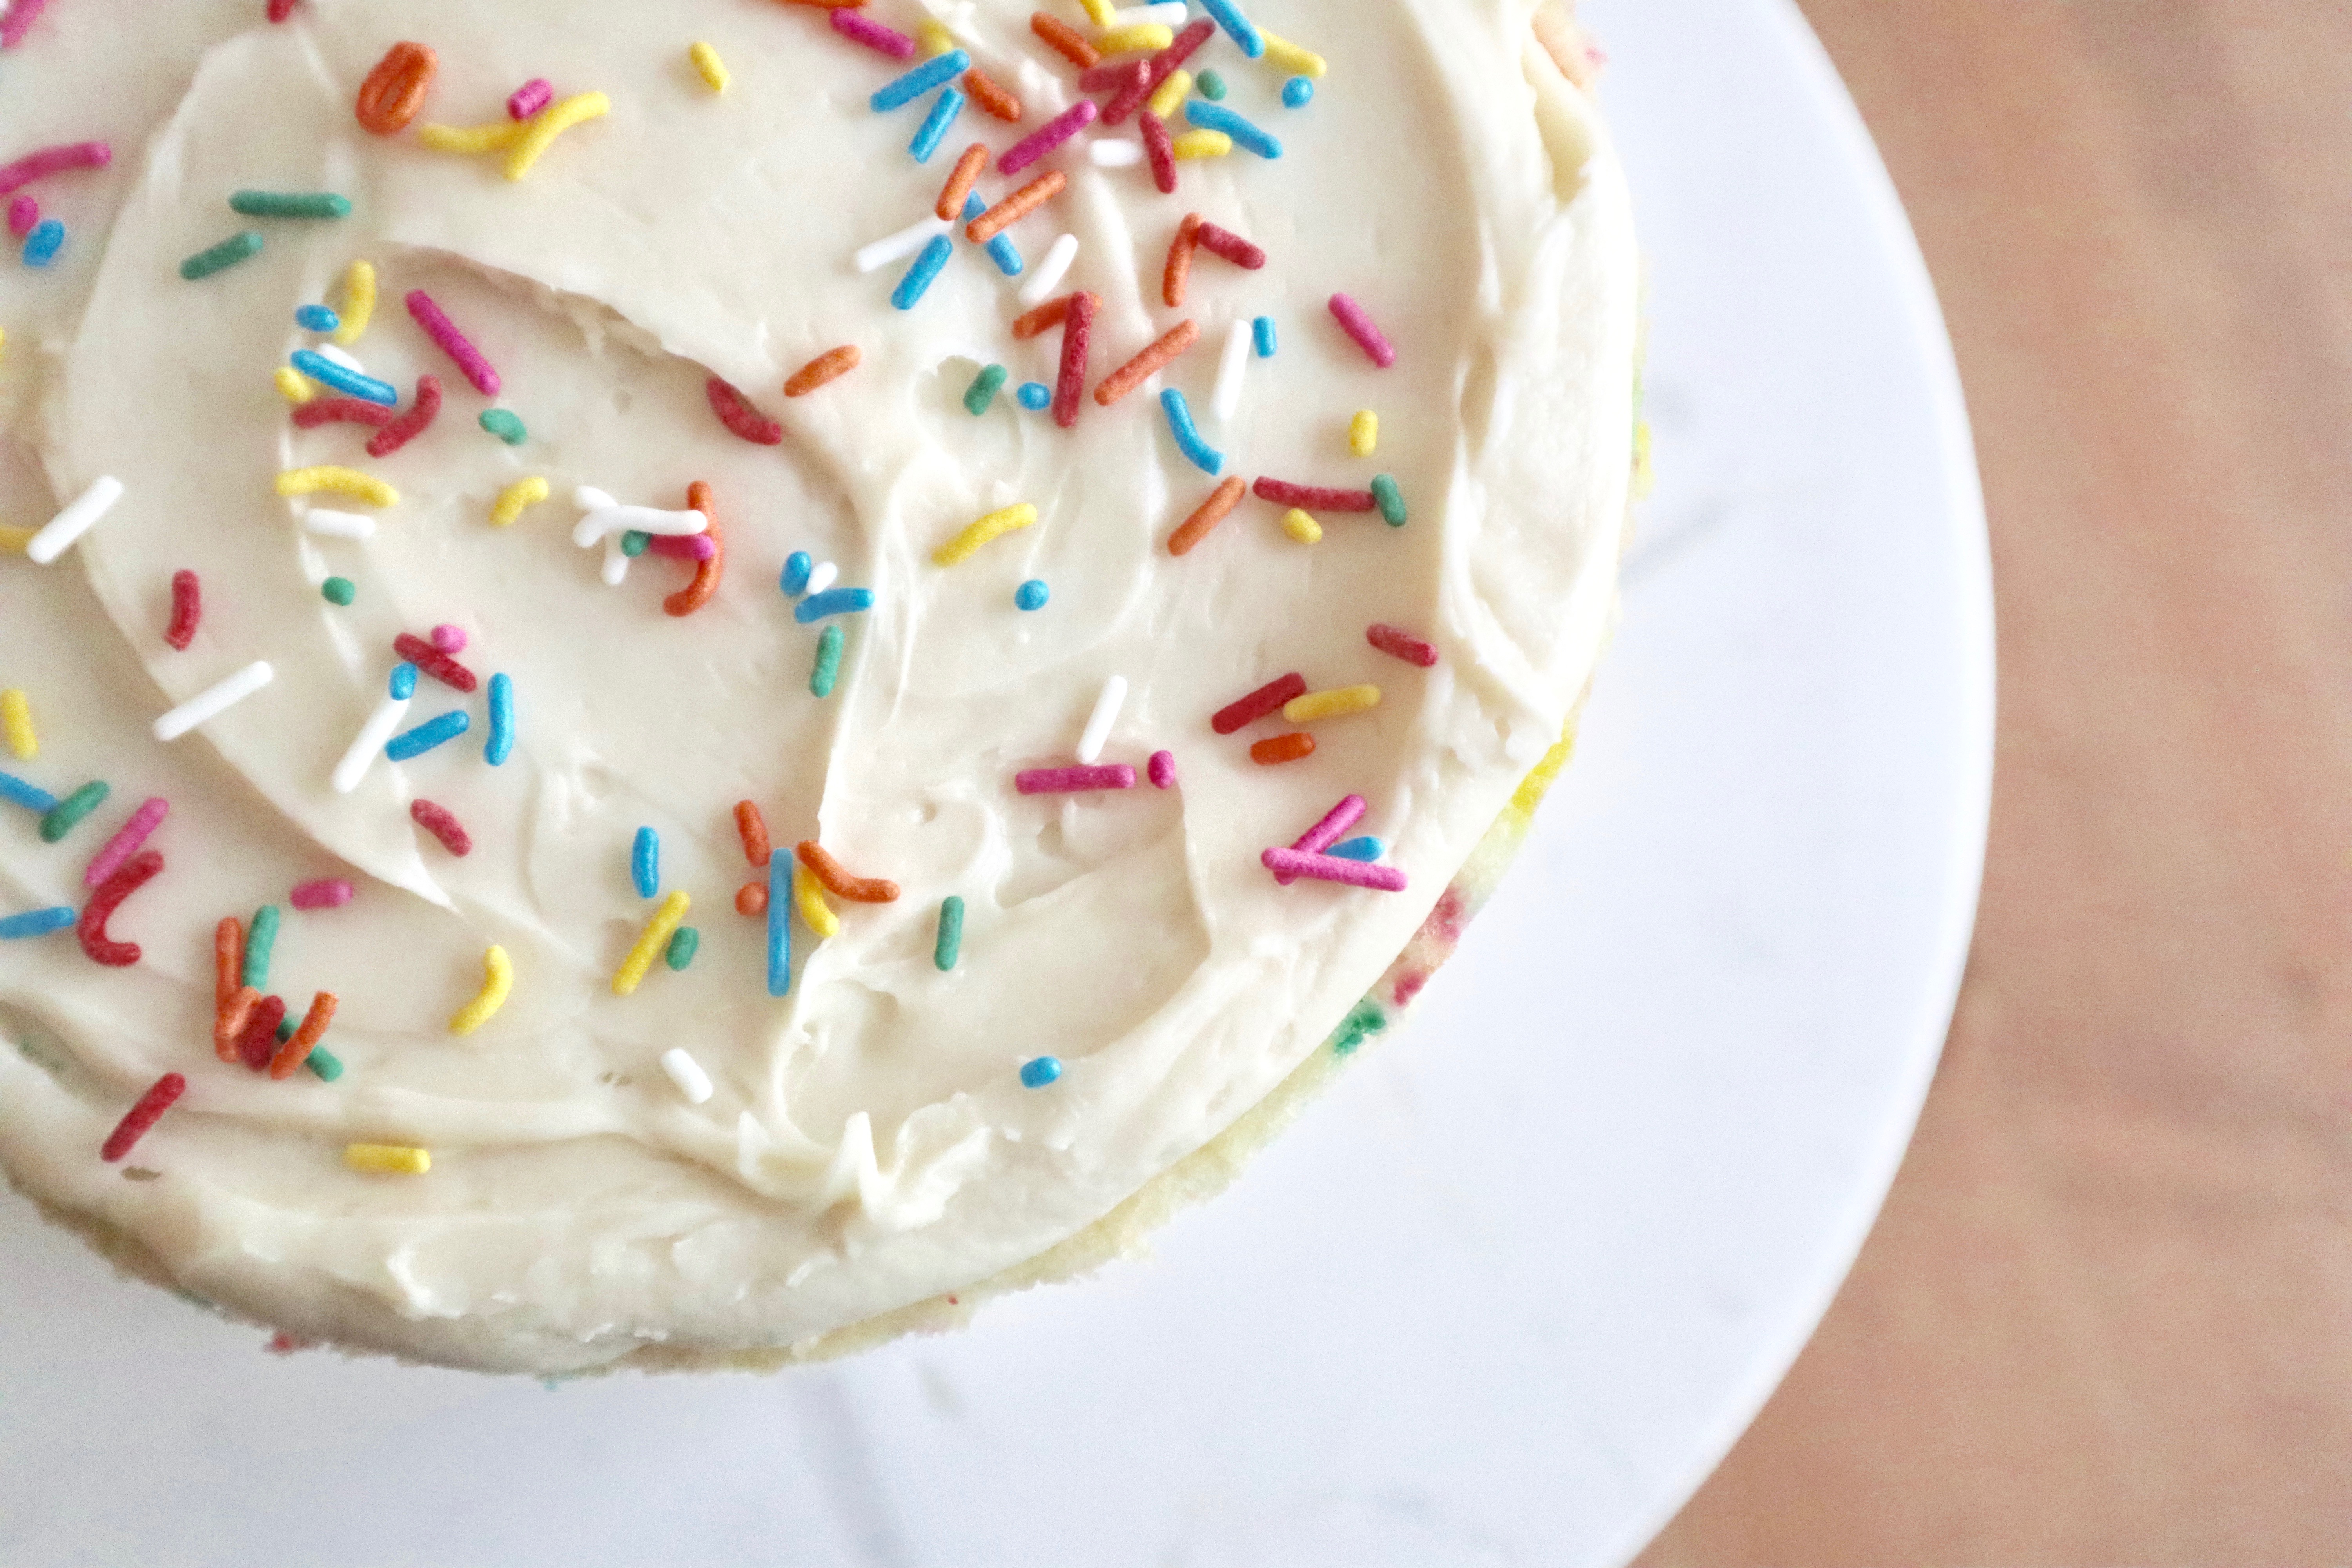
Start your cake assembly with the two half moon cake pieces placed together. Pipe on 1/4 of your frosting (or spread it on, either is fine) and follow it with one of the whole circle layers and another 1/4 of your frosting. The third layer will be your puzzle piece layer and don’t be shy about using a little frosting to get the pieces to stay where you want. Pipe on another 1/4 of your frosting and top with your final whole circle layer, flat side up. Swoop or pipe on the remaining frosting and top with more sprinkles.
Congratulations, you’re ready to live your best life and eat your best cake.
Enjoy!

Lindsay
February 12, 2018 at 5:18 pmLove this post so much!