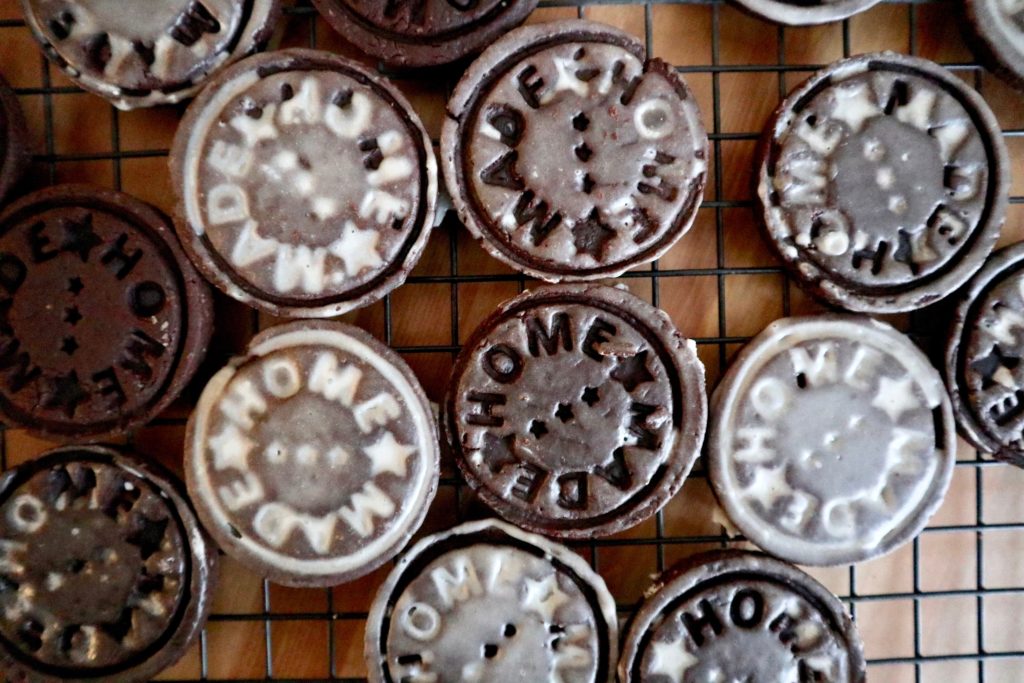
stamped brownie cookies with peppermint glaze
I did a truck load of baking over the holidays and true to form, I am still catching up on actually writing about any of it. Each year my family and I play a really fun game that goes like this:
Caitlin establishes a base number of holiday bakes –> Family insists this is too much –> Caitlin begins baking –> Family puts in additional last minute requests –> Caitlin sees requests and raises additional item.

It escalates quickly and I’d have it no other way. This year the whole 10 day circus included these brownie cookies with peppermint glaze, whipped shortbread cookies, red velvet pound cake, seven layer italian rainbow cookies, sticky bun kouign amann, brown butter chocolate chip cookies, and a trial wedding cake.
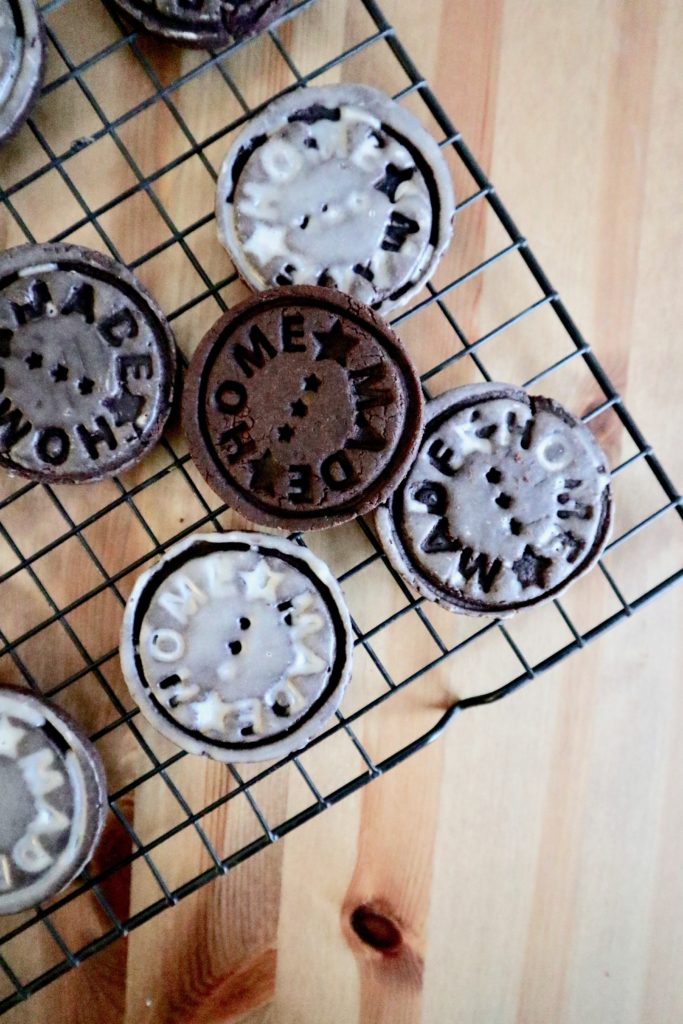
I get attached quickly to ideas about what I want to make and as soon as I saw these stamped cookies from Yossy Arefi I was a goner. Keep in mind hers were made with some sort of bespoke nordic snowflake stamp and I ordered these plastic ones off amazon prime.
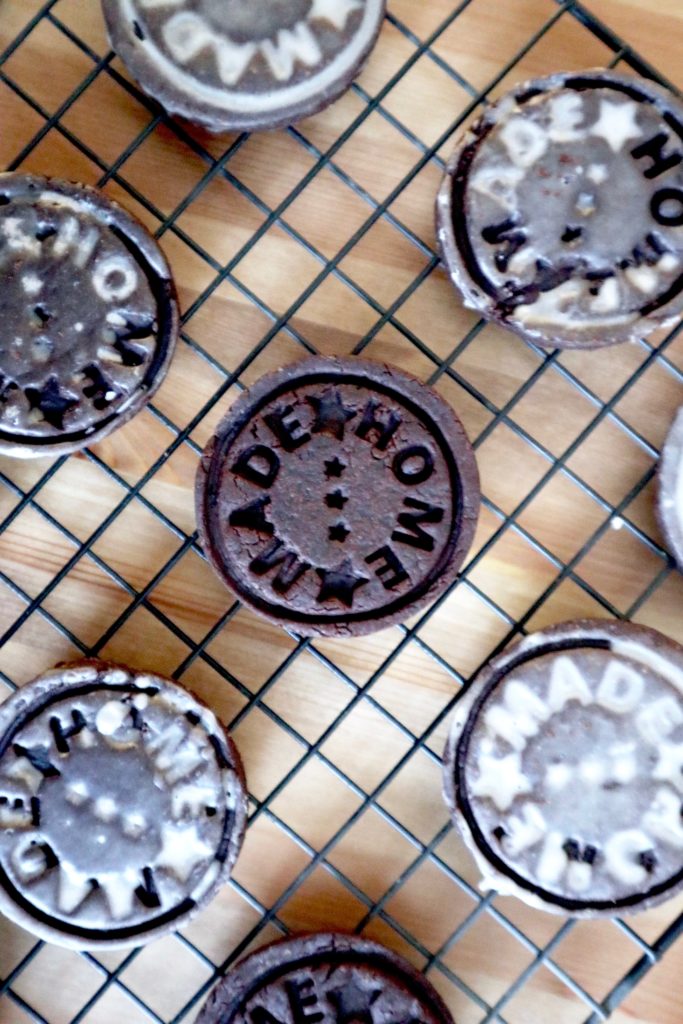
I could not have been more excited to bring these to my work holiday lunch until finding out two days before my boss (my hero) doesn’t love chocolate and mint together. I should have seen this coming as it’s a polarizing flavor combination but personally I am a fan. As a result I left some of the cookies unglazed but you could also omit the peppermint if you wanted.
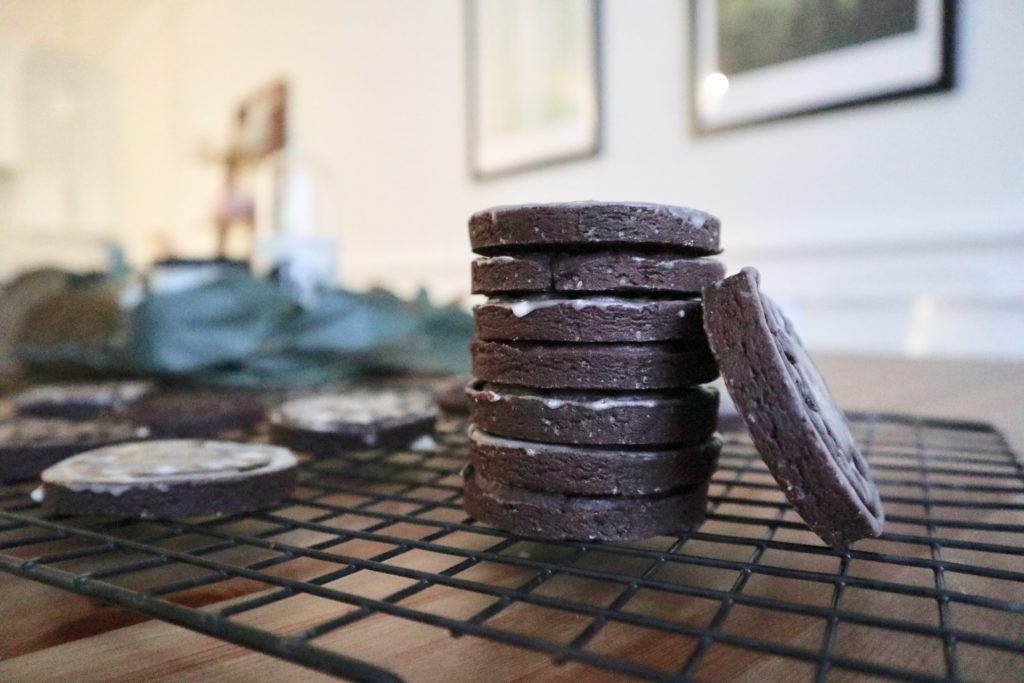
The result is a thick chewy chocolate cookie with a sweet cooling icing on top. These stayed fresh for days and really took on that sort of toothsome brownie batter texture as the days went on.
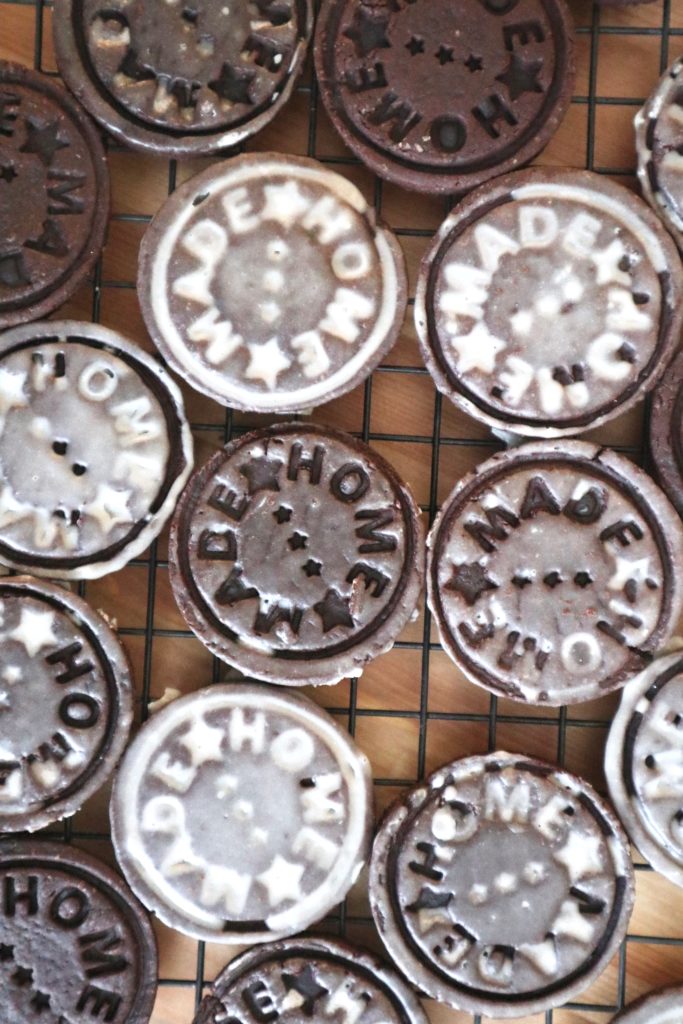
Following up soon with the rest of the posts listed above but for now these will have to serve as your holiday gateway bake.
stamped brownie cookies with peppermint glaze
(recipe from Apt 2b baking co)
brownie cookies
3 cups (384g) all purpose flour
1/2 cup (50g) dutch process cocoa powder
1/2 cup (50g) black cocoa powder (or dutch process)
1 teaspoon salt
1/2 teaspoon baking powder
1 cup (225g) unsalted butter, softened
1 1/2 cups (330g) brown sugar
2 eggs
peppermint glaze
1 cup confectioners sugar
3 tablespoons cream
1 teaspoon vanilla extract
seeds from 1/2 vanilla bean or 1/2 teaspoon vanilla paste
1 teaspoon peppermint extract
pinch salt
directions
Whisk dry ingredients for the cookies together in a small bowl. In your stand mixer, cream together the butter and sugar until light and fluffy and then add in the eggs one at a time, mixing well after each addition.
Stir in the vanilla and then the dry ingredients, making sure you are scraping the bottom of the bowl as you go. Transfer the dough to a sheet of plastic wrap and wrap tightly. Refrigerate the dough for at least an hour but up to two days is fine.
When ready to bake, preheat your oven to 350 degrees and line two baking sheets with parchment paper.
Work with half of the dough at a time and roll it out until it’s 1/4 inch thick. I found this to be more challenging than anticipated and really needed to beat the dough down. I think it’s probably a good idea to take it out of the fridge 10 minutes before you attempt rolling.
With your cookie stamp of choice, stamp across the cookie dough, dipping the stamp into cocoa powder as needed to prevent sticking. Use a round cookie cutter to cut out each circle.
Place cookies about 1 inch apart on baking sheets (though they don’t really spread) and bake 7-10 minutes, rotating the baking sheets halfway through. When done, the cookies will look a little puffed and be just firm to the touch. You don’t want to overdo it or they will lose their brownie chew.
When the cookies are baking, prepare your glaze, as you’ll want to brush it on when the cookies are still warm. Yossy describes the texture of the glaze like elmer’s glue, which I both love and hate the idea of. Adjust the amount of powdered sugar or cream as necessary to get the right consistency.
Brush over the cookies with a pastry brush after the cookies have cooled for about 5 minutes. I went for different glaze amounts because I wasn’t sure what I would like best and I think the answer is, as it always is, that more is more.
Transfer to a wire rack to cool completely and then store cookies in an airtight container.
Enjoy.

Leave a Reply