chocolate coconut pie
I have made this pie twice in the last 5 days. This is a testament to how good this pie is but also how easy it is. I found it through the wonderful world of pinterest, which is where I find most things in life and now apparently it’s on a regular rotation in my diet.
 Remember when I complained about the impending doom and gloom of winter and made pumpkin bread? Well as part of this inevitable transition of the seasons, I needed to take the air conditioner out of my living room window. My sister and brother in law came over to help me with this (I am basically their adult child) and I thanked them with pie. I was also visiting San Francisco this weekend and stayed with my girlfriend and her boyfriend and then thanked them with pie for being such wonderful hosts. Moral of the story is, if you let me be a third wheel, I will bake you a pie.
 I really can’t express how easy this is. It’s four ingredients and it tastes like heaven. I almost felt bad when people commented on how good it was because it basically made itself. I was just there for moral support.
You start by baking the pie crust, which is simply shredded sweetened coconut and butter. Then let that cool and fill it with a couldnt-be-easier chocolate ganache. Bonus, this pie is gluten free for your gluten free bestie. And who doesn’t have a gluten free bestie these days?
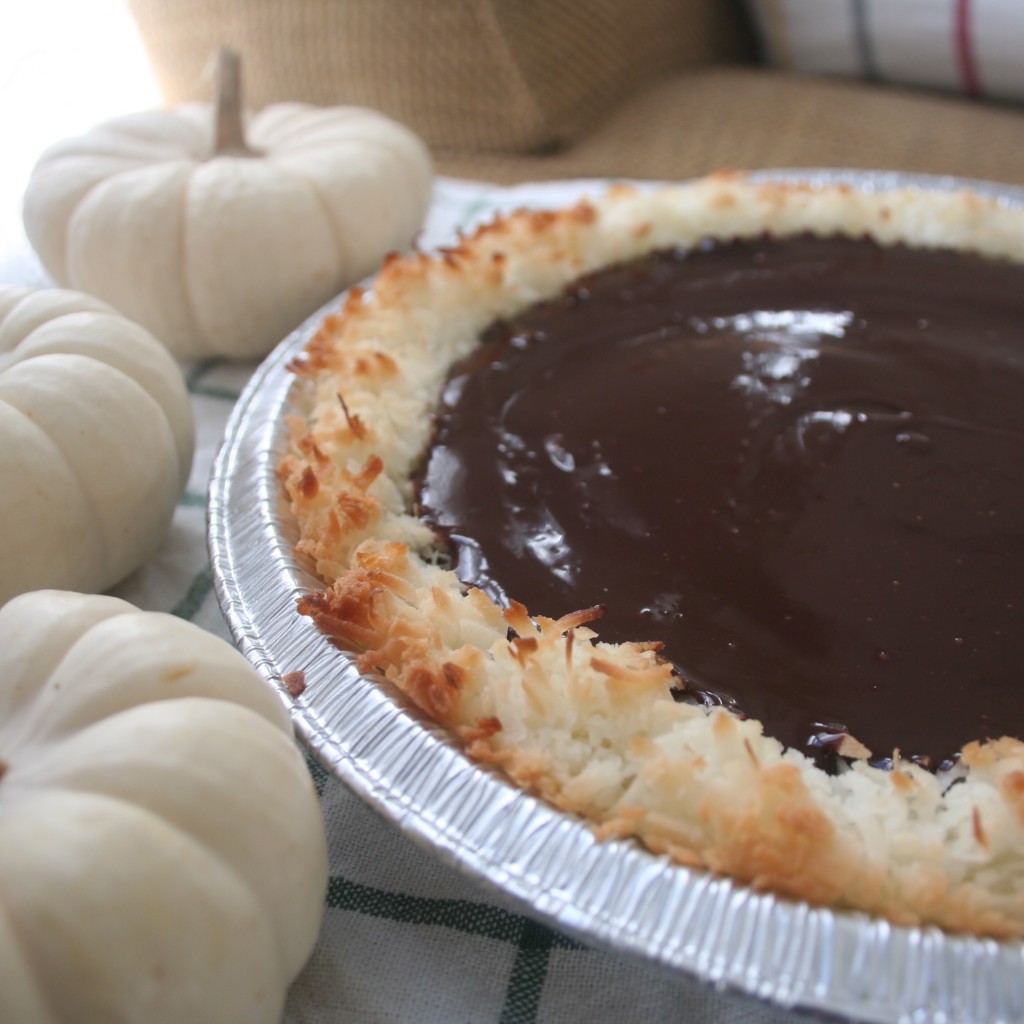
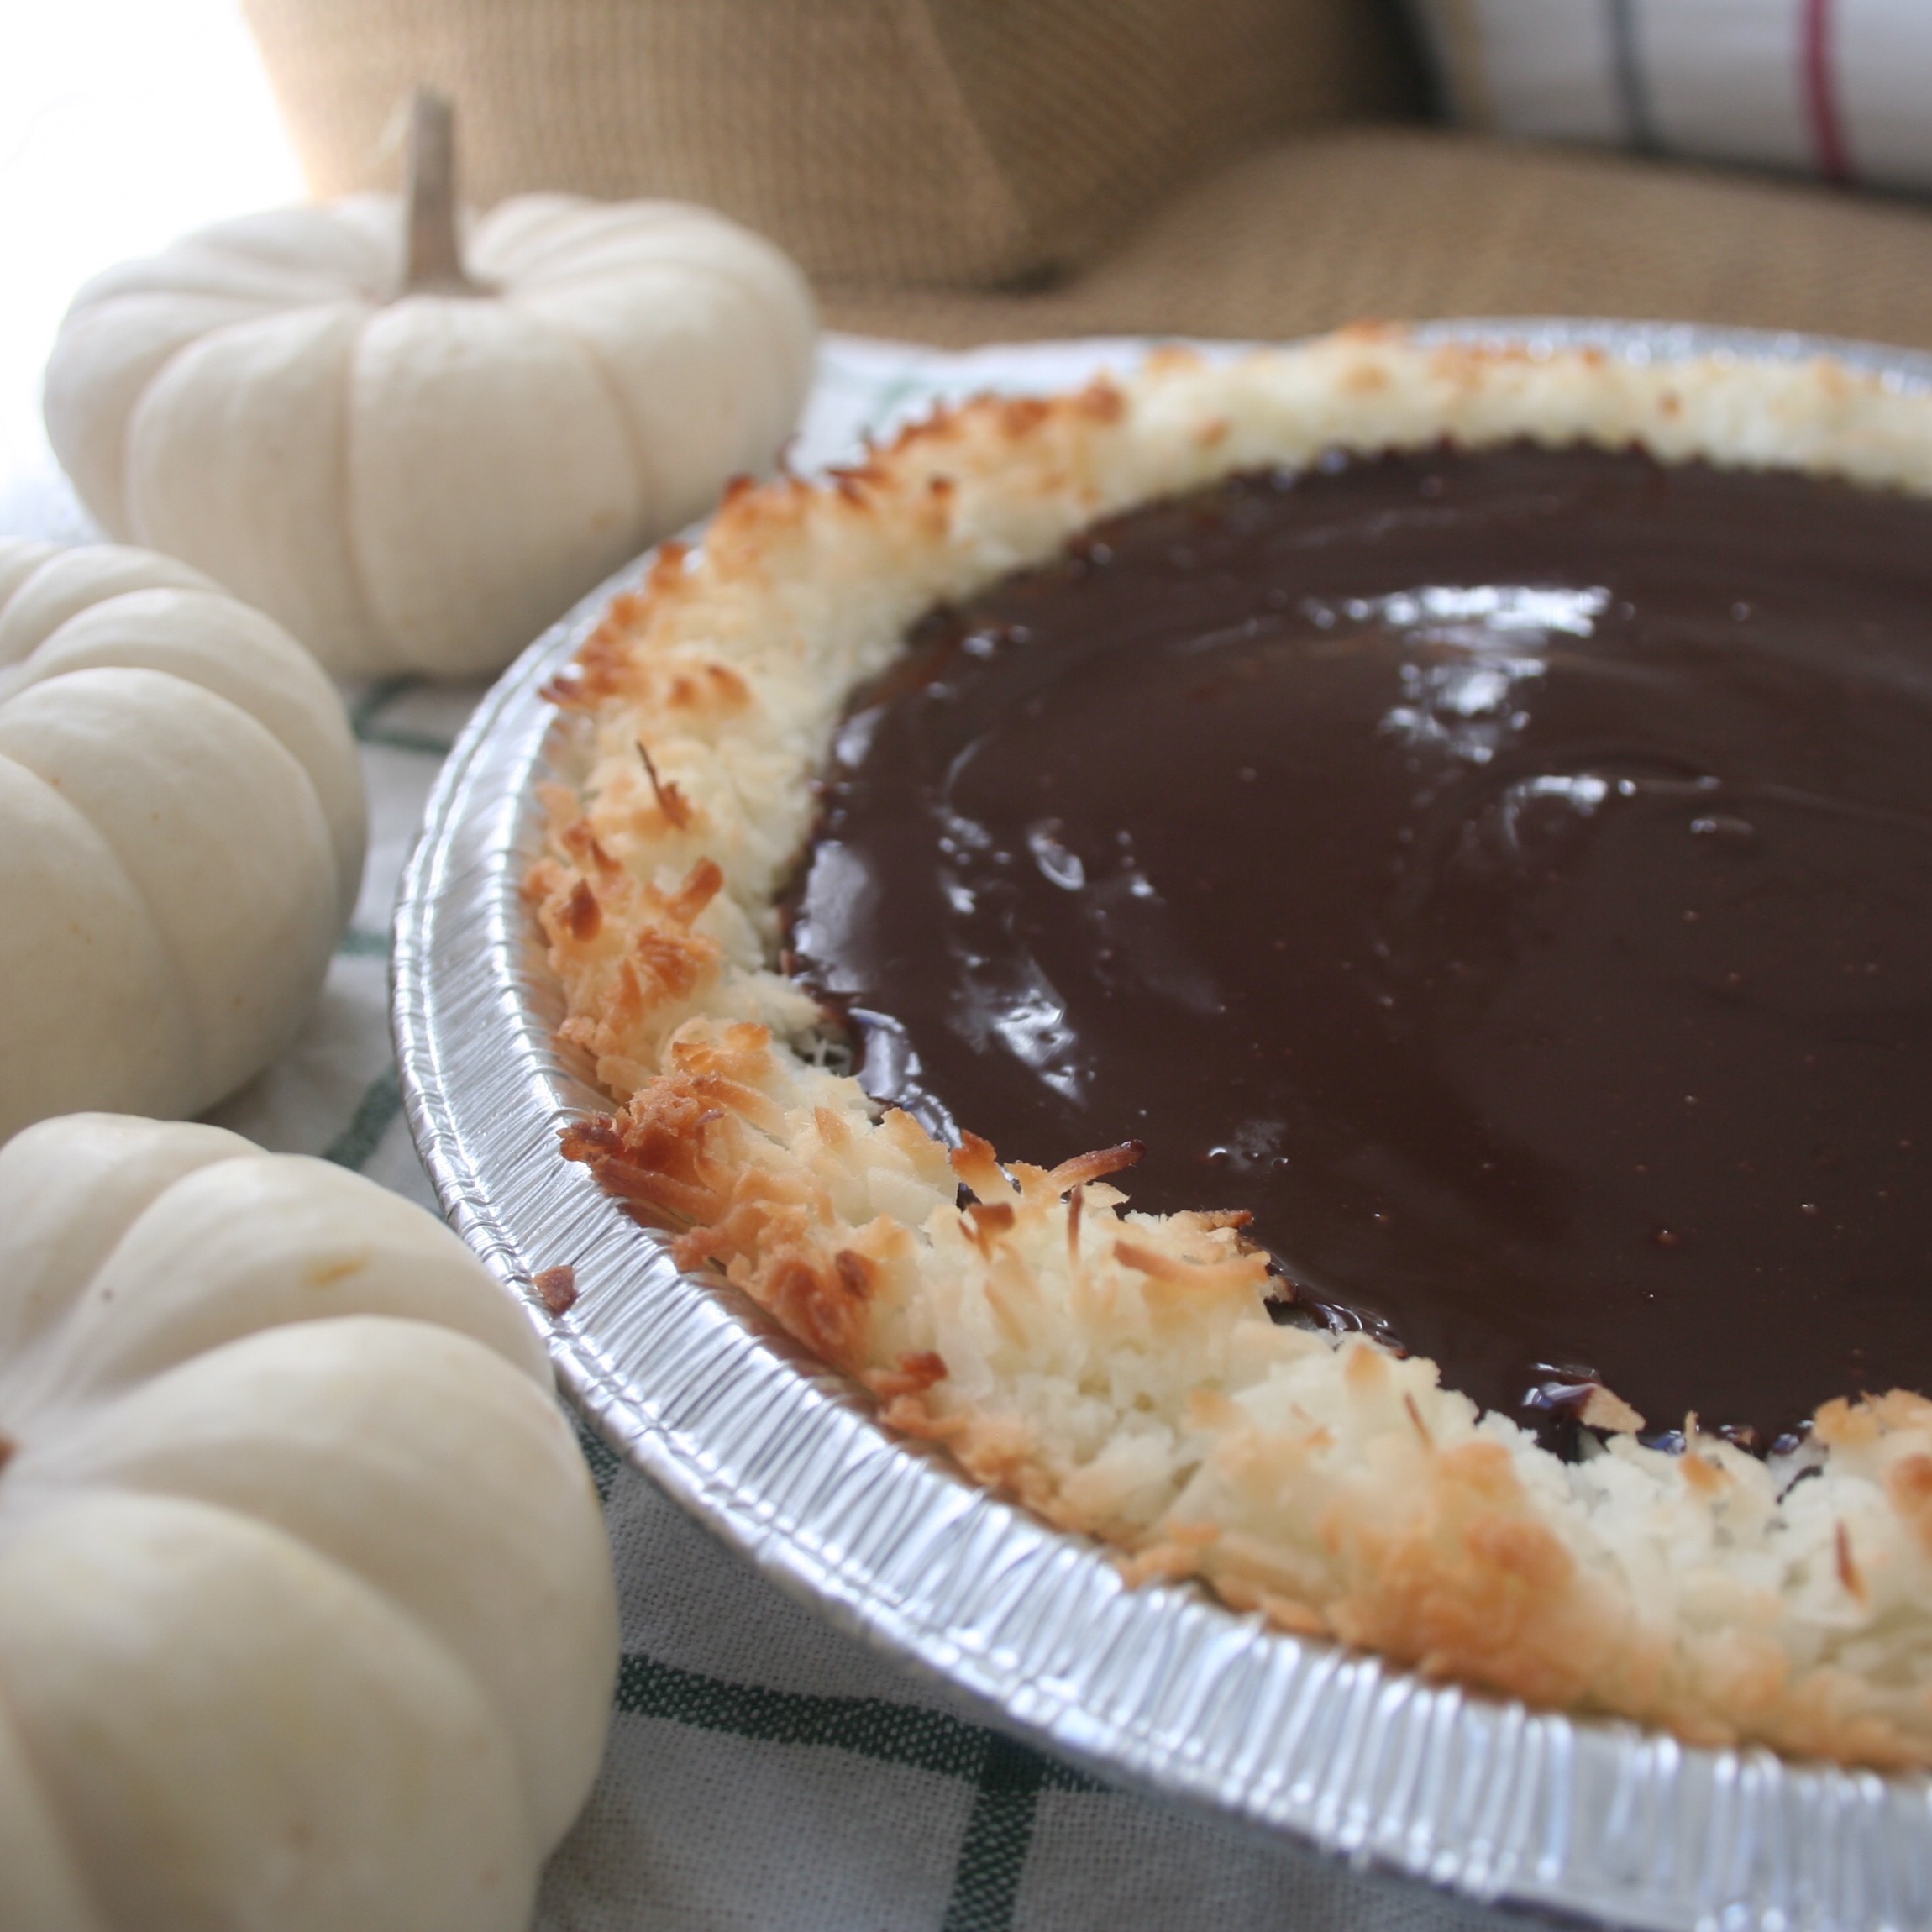
 Look how glossy that is? I’m not a particularly good swimmer but I’d like to improve my skills by diving into that pool of chocolate.
 The hardest part of making this pie is the fact that you have to wait for the chocolate to set. This should take about 3 hours in the fridge but I won’t judge you if you slice into a little early. It will be a little messy but sometimes that’s a risk you have to take.
 I adapted this recipe because the original proportions are for a 6 inch pie pan. I don’t own a 6 inch pie pan, though it does sound adorable. This will fit in your standard 8 to 9 inch pie pan, which means you get more pie and more pie is better. I also eye-balled most of the changes so don’t worry if you’re not sure exactly how many ounces of coconut you’re grabbing.
Full disclosure. I bought these little white pumpkins specifcally for these photos. I think this means I am officially a food blogger now.
Chocolate Coconut Pie
(adapted from Style Me Pretty)
Coconut crust
10 ounces of sweetened shredded coconut flakes
3 tablespoons of butter
Ganache filling
1 cup semisweet chocolate chips
3/4 cup heavy cream
Directions
Preheat the oven to 350 degrees. Take about a third of the sweetened coconut (again, don’t worry too much about the exact ounces) and combine that with the butter in a food processor. You want this mixture to come together and form a ball almost. Then combine this with the rest of the coconut. Use your hands for this part and not the food processor.
Press this coconut and butter mixture into your pie pan and aim to have the bottom be densely packed and the edges a little looser so you can get some nice color on that bit. Create two tinfoil “ropes” to loosely cover the edges of the crust so they don’t burn.
Bake the crust for 10-12 minutes with the ropes on and then as you start to see a little color on the bottom of the crust, remove the foil ropes and bake for another 4-6 minutes. Watch carefully for burning but don’t worry too much about the exact time.
Let the pie crust cool and then prepare your filling. Heat the heavy cream in a sauce pan until it’s just about simmering. Steam will come off the cream and you’ll notice some bubbles around the edge but don’t let it boil. Pour the cream over your chocolate chips (or just dump the chocolate into the pain once removed from heat). The idea is you want the chocolate to be submerged in the cream. Let that sit for about 10 minutes (without mixing) and then wisk it all together. It will take a minute but you’ll have silky smooth chocolate ganache on your hands (especially if you taste test).
Pour the chocolate into the cooled pie crust and chill the pie in the fridge for at least 3 hours or overnight.
Enjoy!


Sara
March 31, 2018 at 9:05 pmI’m making this for the Easter party I’m attending tomorrow! There’s nothing better than a 4-ingredient impressive homemade dessert! Cant wait to share it with everyone!
Caitlin
April 8, 2018 at 11:27 pmAh yay!! How did it turn out??