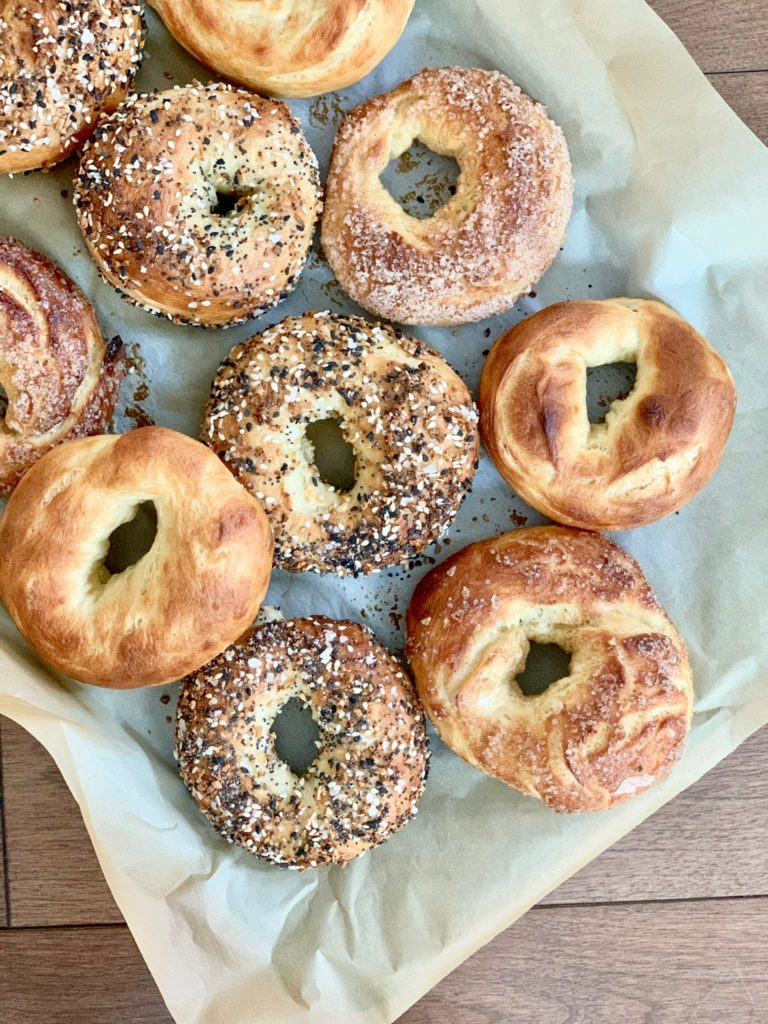
montreal style bagels
It feels very strange to be writing about bagels with everything going on and at the same time, if homemade bagels would make your life better right now – I’d really like to add to that being a possibility.
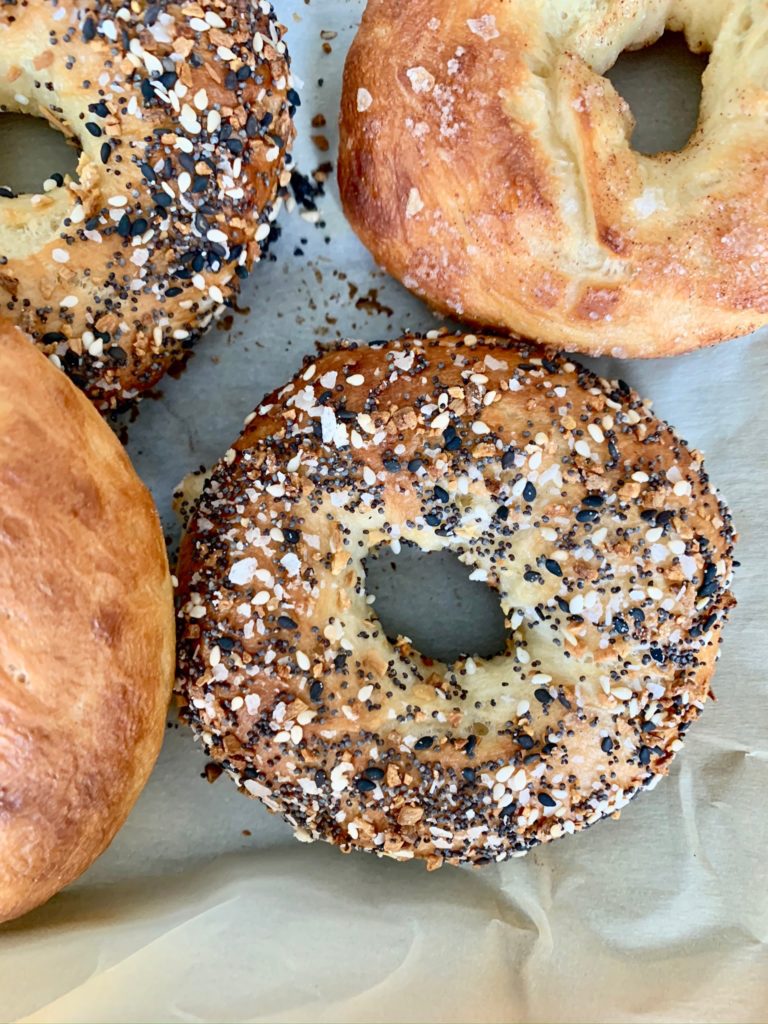
Now that I’m officially spending every weekend living with my sister, her husband, and their two babies – I am lucky to have a captive audience to make large batch bakes for. I’m guessing for them this is a true pro-con situation. I usually destroy their kitchen and have a tendency to ask hard hitting questions like “do you happen to have a pizza stone?” at the eleventh hour. However, I think we break even on this arrangement with a third parent on hand and hot bagel saturdays.
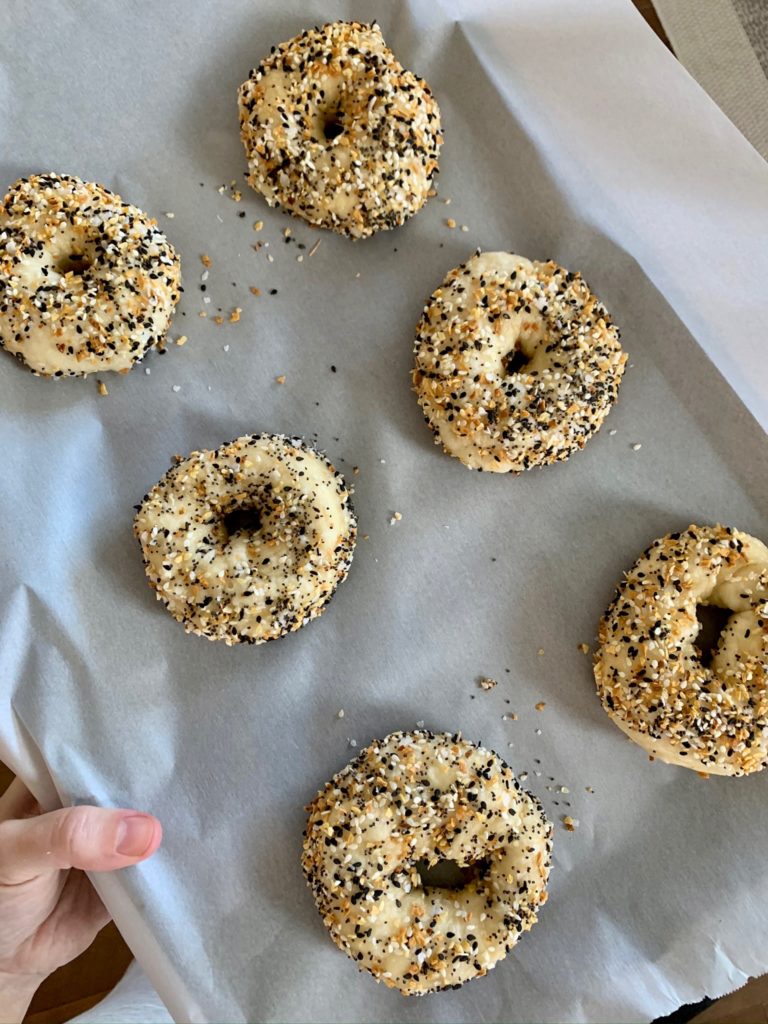
I hadn’t ever made bagels before but I’m loving anything that’s a process right now. I want to be prepping yeasted doughs and hand rolling until quarantine ends. Despite being multi-step, these actually aren’t too difficult in practice. They plump up nicely during the boiling process and then go golden in the oven.
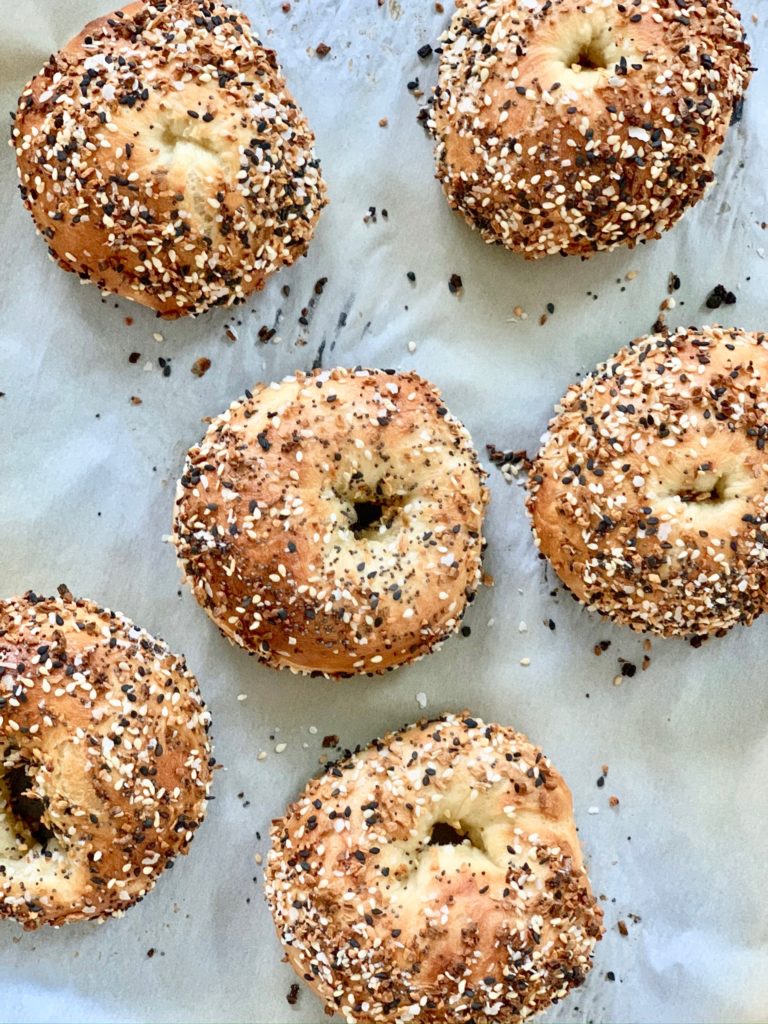
I went with Montreal style bagels after trying them for the first (only?) time my senior year of college. We took a weekend trip in the dead of winter and I’ve never been more revived by a food item than I was by a montreal-style bagel after waiting in line, hungover, in sub zero temperatures.
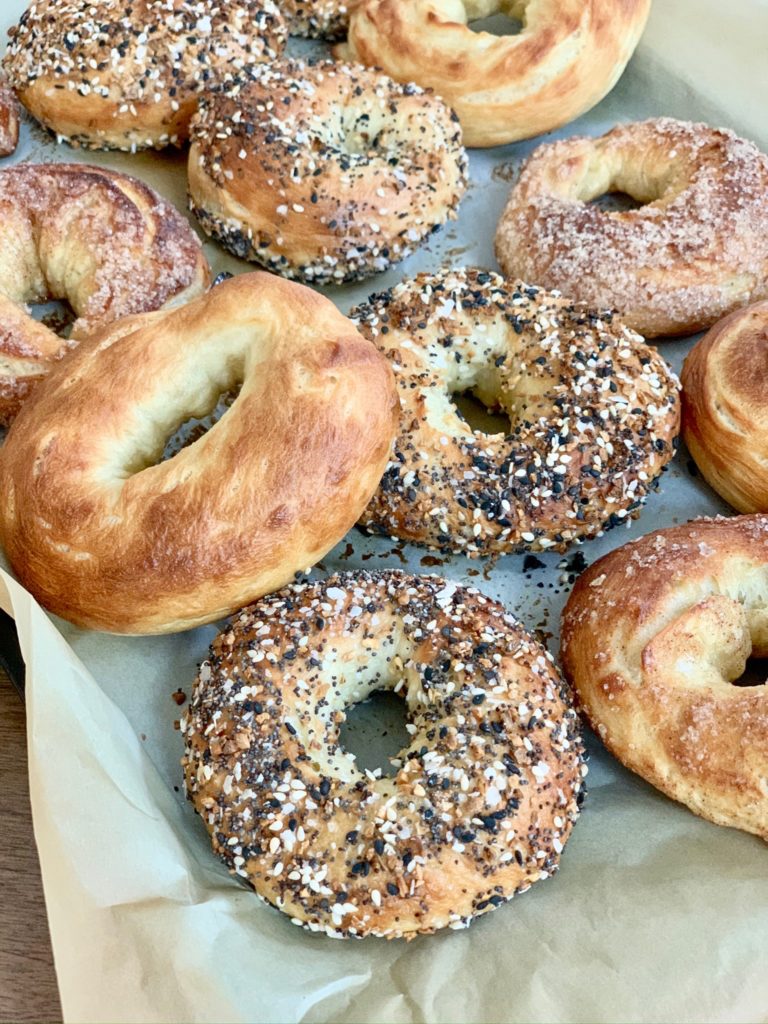

They’re smaller, chewier, and a touch sweeter than the dense monsters of an american bagel – which don’t get me wrong, is also is a life saving carb. Montreal-style bagels are almost like a cross between a brioche and a bagel and I personally find it easy to eat two in one sitting.
My brother in law finds it easy to eat four.
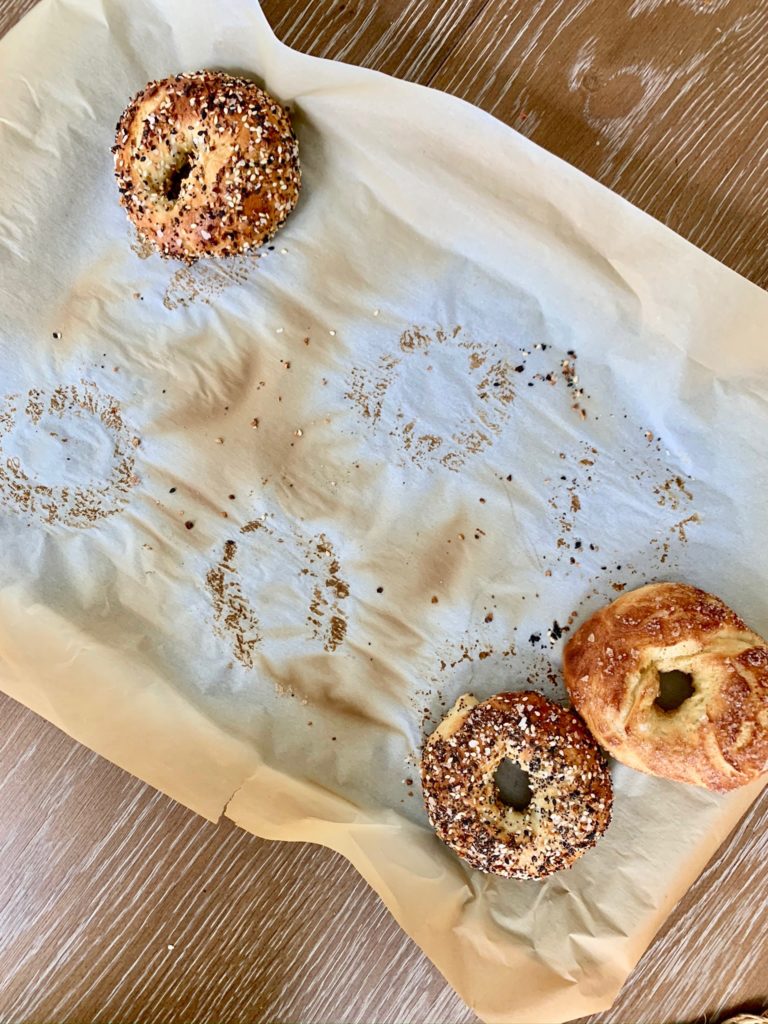
Go big or go home. Just kidding. We can only go home these days.
montreal style bagels
(recipe from the spruce eats)
4 1/2 teaspoons dry active yeast (or two foil packets)
1 1/2 cups warm water
1 egg
1 egg yolk
1 cup honey (divided in 1/2 and 1/2)
1/4 cup neutral oil
1/2 teaspoon sea salt
roughly 5 cups bread flour (around 550-600grams)
1/2 to 1 cup toppings (everything bagel mix, sesame seeds, cinnamon sugar)
directions
Start the process the night before you want to make the bagels. In the bowl of your stand mixer, dissolve the yeast into the warm water until it gets foamy, about five minutes. Next stir in your egg and egg yolk, followed by the honey, oil, and salt.
Using the dough hook attachment, stir in one cup of flour at a time until the dough starts to pull away from the sides of the bowl. The original recipe describes the final texture of dough to be similar to pinching an earlobe. I find this a disgusting but accurate reference. Add more flour as needed to get you to that texture but the dough will still remain a touch sticky in my opinion.
Cover the bowl with plastic wrap and chill the dough in the fridge overnight so it can proof and double in size.
In the morning, preheat your oven to 475 degrees and put on 12 cups of water plus the remaining 1/2 cup honey to boil on the stove. Line two baking sheets with parchment paper and arrange a rack in your oven to be as close to the bottom as possible.
Punch down your dough (is there anything more satisfying!?) and turn it out onto a lightly floured surface. Divide into 16-18 equal portions and let them sit for 15 minutes.
Shape your bagels either by 1) forming a ball and poking your thumb through to create a hole, then stretching from there or 2) roll it into an 8 inch log, twist the ends together to form a circle and roll that section back and forth a bit to seal. Either way you do this, make the hole bigger than you anticipate because it’s going to close up with the boiling and the baking.
Once the water is boiling, boil your bagels about 3 at a time for around 90-120 seconds total, flipping them over halfway through the process. Nudge them if they stick to the bottom by accident but they should float.
Move through the batch of bagels boiling three at a time and dipping them into your bowl of preferred toppings when they are cool enough to handle.
Arrange bagels on your baking sheets a few inches apart and bake for 10-15 minutes. Transfer to a cooling rack but it’s highly encouraged to enjoy them hot. Freeze any bagels you aren’t planning to eat that day to preserve freshness.
Enjoy : )


Leave a Reply